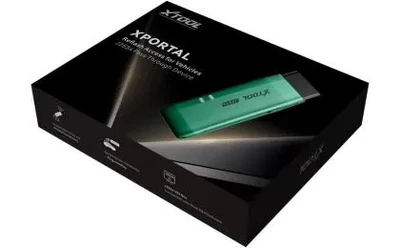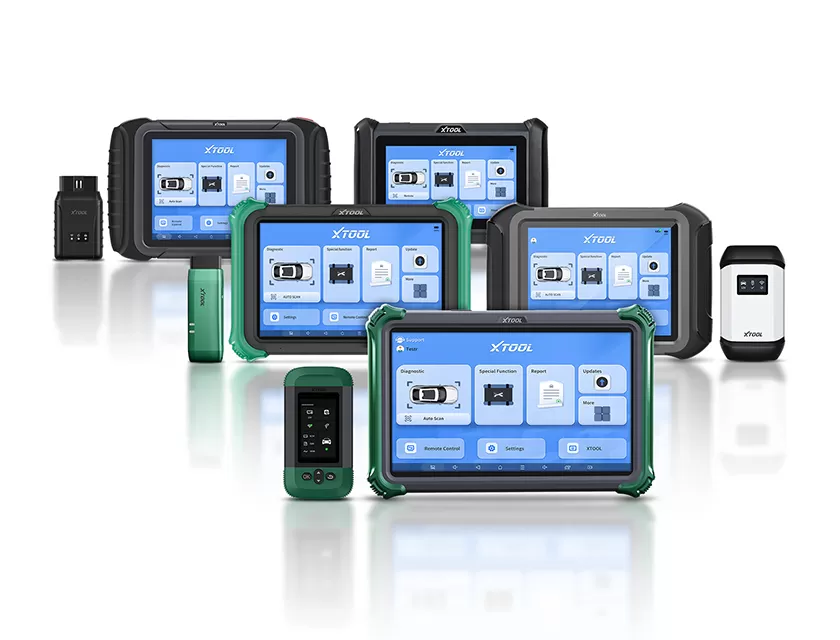
Select the XTOOL website you want to visit.
You will only be redirected after selecting a website.
Replacing a windshield can affect the positioning or operating conditions of a vehicle's forward-facing camera. For automotive glass installers, collision repair centers, and independent workshops, confirming whether ADAS calibration after windshield replacement is required is an important part of completing the repair correctly.
However, not every vehicle follows the same calibration procedure. Requirements depend on the vehicle manufacturer, model year, camera configuration, and work performed. XTOOL provides automotive diagnostic and calibration equipment for professional workshops, helping technicians evaluate equipment options against their service requirements.
ADAS calibration after windshield replacement is the process of restoring or verifying the alignment and operation of affected driver-assistance sensors according to the vehicle manufacturer's specified procedure.
A windshield replacement may trigger calibration when the forward-facing camera is removed, reinstalled, or affected by changes to its mounting position. Certain vehicles also require additional inspection or adjustment procedures after glass replacement.
For example, a Subaru service bulletin hosted by the National Highway Traffic Safety Administration (NHTSA) specifies camera inspection, adjustment, and automatic adjustment procedures for the covered EyeSight vehicles following windshield replacement. This is a vehicle-specific example, not a universal procedure for every make.
Before scheduling a calibration job, identify the vehicle make, model, model year, and VIN. Consult the applicable OEM service information to establish whether calibration is required, which procedure applies, and what equipment or operating conditions are necessary.
An ADAS pre-calibration check is a documented review of vehicle condition, sensor installation, diagnostic information, and procedure requirements before calibration begins.
The objective is to identify conditions that could prevent successful calibration or make the results unreliable.
| Checkpoint | What technicians should verify |
|---|---|
| Vehicle identification | Make, model, year, VIN, and applicable OEM procedure |
| Windshield installation | Correct glass specification, camera bracket position, and installation condition |
| Camera and mounting | Correct installation, secure mounting, and absence of visible damage |
| Vehicle condition | Relevant warning messages, DTCs, tire condition, ride height, and alignment where required |
| Workshop environment | Available space, lighting, floor condition, and target placement requirements specified by the OEM |
| Diagnostic preparation | Compatible scan tool, required software, and supported vehicle functions |
The I-CAR ADAS collision repair diagnostic process recommends identifying affected systems, recording diagnostic trouble codes, consulting OEM repair information, and performing required post-repair calibration and scanning.
A successful preliminary scan does not prove that calibration is complete. Likewise, the absence of a dashboard warning does not establish that every ADAS component is correctly aligned.
ADAS calibration equipment selection is the process of matching the required calibration method, targets, diagnostic functions, and workspace to the specific vehicle and OEM procedure.
Depending on the vehicle, calibration may involve stationary targets, a prescribed road-driving procedure, or a combination of steps. The technician should follow the manufacturer's instructions rather than choosing a method based only on equipment availability.
For workshops expanding their calibration services, XTOOL's ADAS calibration equipment range provides a starting point for reviewing available solutions. The ASCT-1000 calibration system is a specific option to evaluate against the required vehicle coverage, target configuration, and workspace.
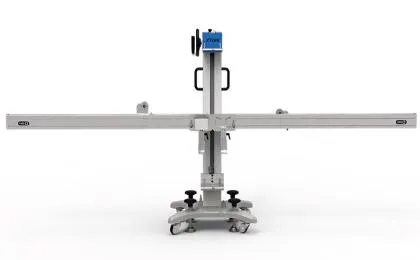
Before purchasing an ADAS system calibration tool, compare the actual requirements of the vehicles your workshop services.
| Evaluation factor | Static calibration | Dynamic calibration |
|---|---|---|
| Basic approach | Uses specified targets and stationary setup conditions | Uses a prescribed driving procedure under defined conditions |
| Main requirements | Suitable workspace, target positioning, and specified equipment | Appropriate road conditions, driving parameters, and supported diagnostic equipment |
| Key verification | Target placement, vehicle setup, and OEM-defined conditions | Required driving conditions, system status, and completion criteria |
| Important limitation | Not every vehicle supports the same target configuration | Not every vehicle permits the same driving procedure |
This comparison is a general overview; the applicable OEM procedure determines the actual requirements. Some vehicles require both methods or additional checks.
The I-CAR Ford ADAS calibration reference illustrates how calibration requirements vary by component and vehicle application, reinforcing the need to consult the appropriate service information.
XTOOL's vehicle function lists can also help buyers investigate supported functions. Confirm the exact vehicle, model year, and calibration task before committing to an equipment configuration.
An ADAS calibration report is a record of the vehicle, procedure, diagnostic findings, calibration outcome, and supporting evidence for the completed repair.
A useful workshop report should contain the vehicle identification, windshield replacement details, pre-scan results, applicable OEM procedure, equipment used, calibration method, completion status, and post-scan findings.
Technicians should also document any unresolved faults or procedures that could not be completed. If calibration fails, investigate the cause using the relevant service information rather than repeatedly restarting the procedure without addressing the underlying issue.
A consistent documentation process helps workshops explain the work performed, support quality control, and provide customers with evidence of the repair outcome. It also helps distinguish a completed calibration from a procedure that was attempted but did not meet the manufacturer's requirements.
ADAS calibration after windshield replacement should be determined by the vehicle manufacturer's service requirements and the actual work performed. Checking the camera installation, reviewing diagnostic information, selecting compatible equipment, and recording the results help workshops manage the process systematically.
XTOOL recommends verifying vehicle-specific function coverage and equipment requirements before expanding ADAS calibration services. Workshops planning to offer these services can prepare a list of their most common vehicles, required calibration procedures, and available workspace before evaluating suitable equipment.
No. The requirement depends on the vehicle and manufacturer's procedure. Check the applicable service information rather than assuming the same rule applies to every vehicle.
No. The absence of warning lights does not prove that all required calibration procedures have been completed successfully. Follow the OEM's specified verification process.
Record the VIN, vehicle details, windshield work performed, relevant warning messages, diagnostic trouble codes, and any required pre-scan results.
The applicable OEM procedure specifies the required targets, positioning, workspace conditions, and equipment. Confirm these requirements for the exact vehicle before starting.
No single configuration should be assumed to cover every vehicle and procedure. Verify the supported makes, models, model years, calibration methods, and required accessories.
Provide the vehicle details, procedure performed, relevant pre- and post-scan findings, calibration outcome, and any outstanding issues. Only report successful completion when the required procedure and verification criteria have been satisfied.